Bedroom 2.0: My “Closet”
Last time, I told you I was beginning work on transforming my living quarters into someplace I could be proud of. The bedroom 2.0 Project is officially underway, and it started in what might be the strangest of places: my “closet.”
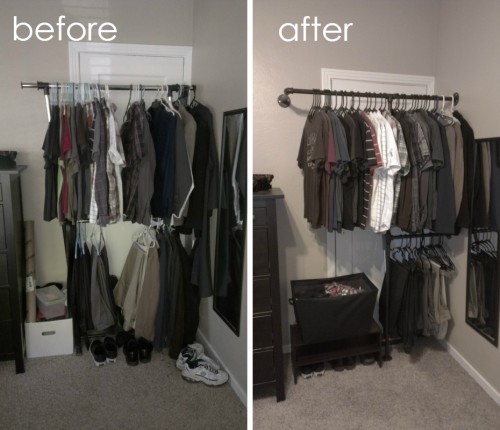
I keep putting that word in quotations for a reason. You see, one of the downsides to where I live is that my bedroom doesn’t actually have a closet. There’s a door where a closet should be, but it’s filled with tubing that I suspect brings air conditioning downstairs to our neighbors. Oh, the joys of living in a converted two-story house! Anyway, When I first moved in, I immediately bought a cheap $20 clothing rack from Target, and that’s been my solution ever since. It’s worked out decently enough, but after over a year of use, the rack has become increasingly unstable: it constantly leans to the left and would likely fall over if not for the box I have placed next to it. Besides, it looked atrocious! I needed a new system.
So I designed one!
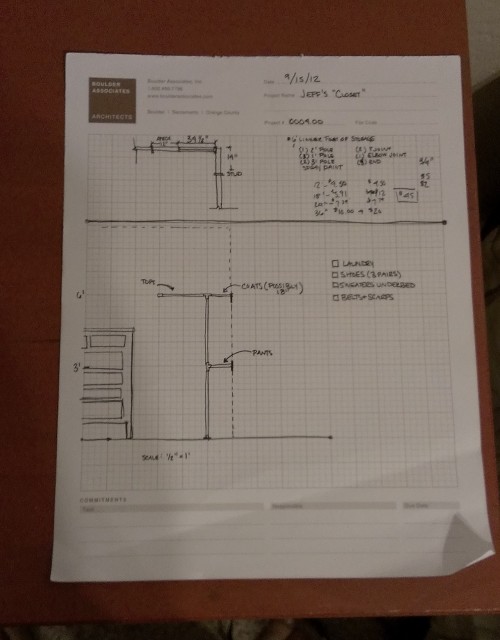
I was inspired by a DIY project on Pinterest, in which the author had built a mobile clothing rack out of plumbing pipes. Their particular project wasn’t suitable for my needs, but it got me thinking: perhaps I could design my own solution using the same materials. I spent a couple weeks thinking and designing it in my head, and finally I had my girlfriend draft it out.
With the design finalized (and copious measurements taken), we drove to the nearest hardware store to grab supplies.
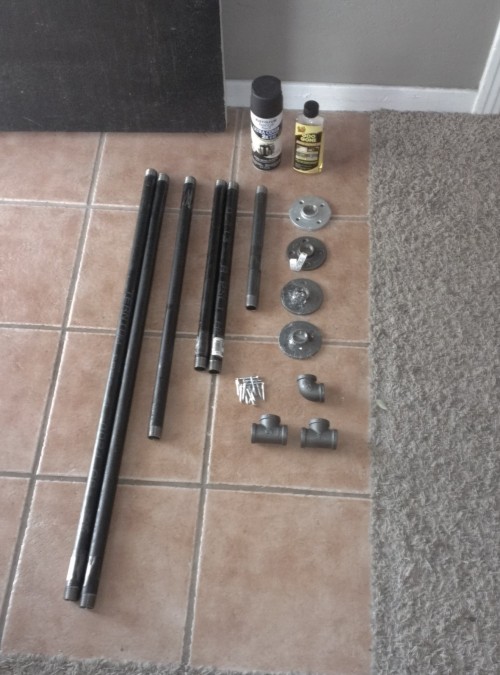
To build this new closet, we purchase:
- (1) 12″ pipe
- (2) 18″ pipes
- (1) 24″ pipe
- (2) 36″ pipes
- (2) T joints
- (1) Elbow joint
- (4) Floor Flanges
- (Some) screws
- Goo-Gone
- Spray Paint
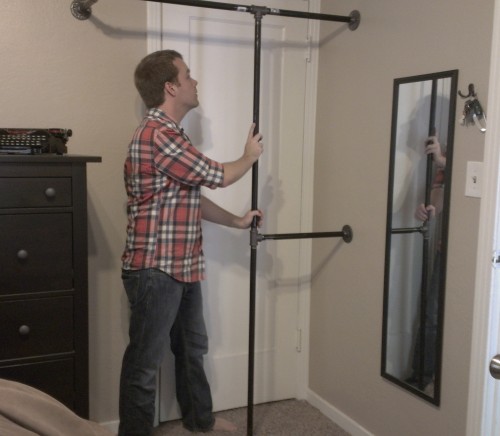
Next we took down to old rack. I was pretty sure the new rack was going to fit when all was said and done, but before I started taking off tags and painting the pipes, I had to be sure. Thankfully, it did.
Next was the fun part: spray painting. Most of this was actually done by my girlfriend, since she’d had lots of experience compared to me. I supervised though, making sure everything was dry and whatnot.
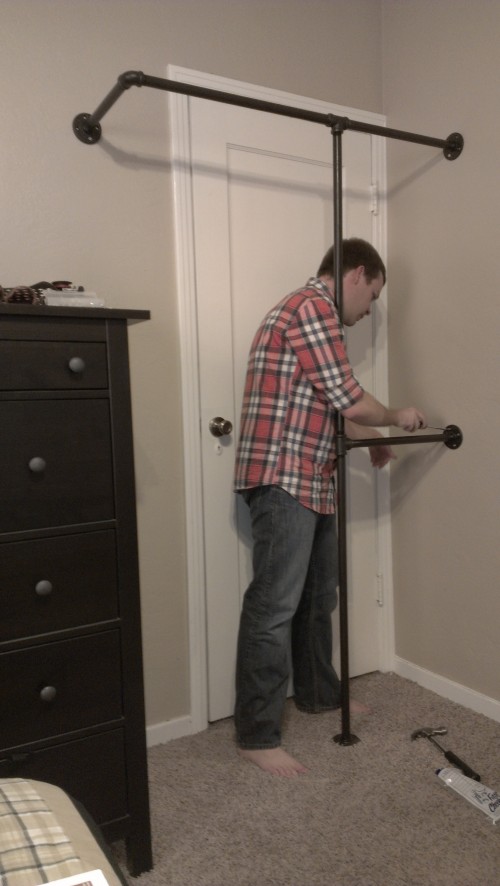
Once everything was painted and dry, I could hardly wait to start drilling it in place. We didn’t actually have a drill, so it took some time to screw it into the wall. Pro-tip: start the holes by hammering a nail into the wall first.
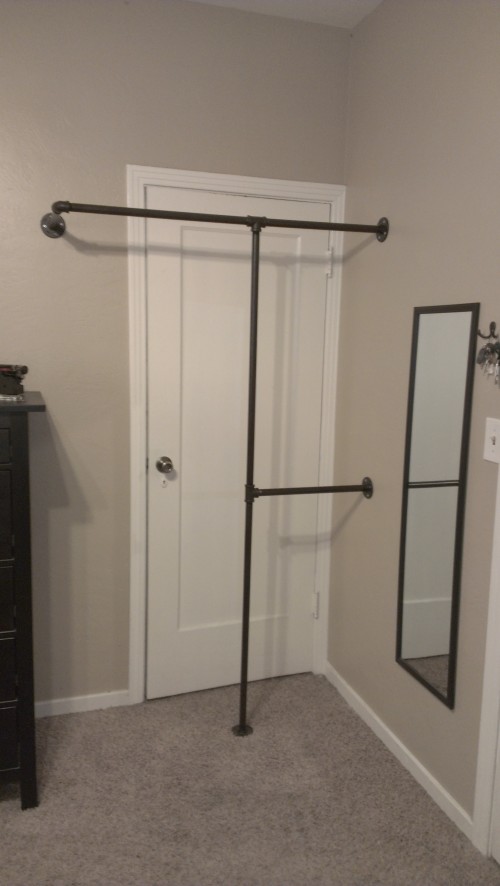
And then it was done!
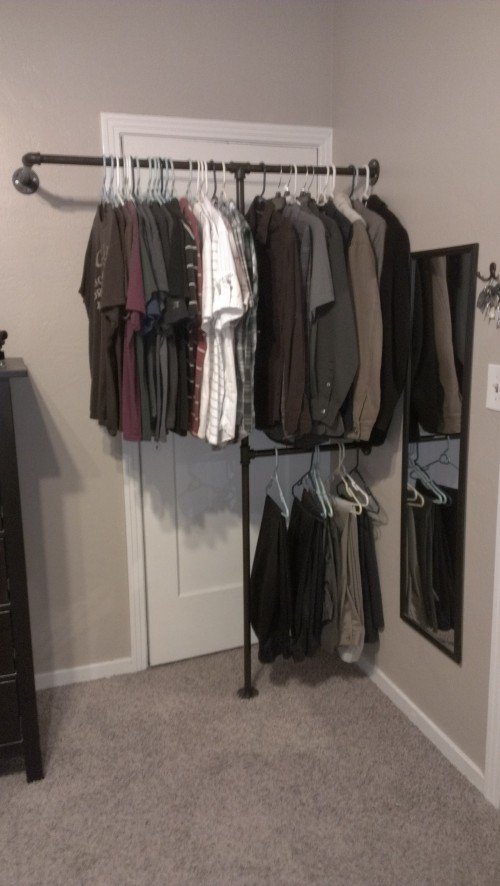
Well… mostly. I still needed to put my clothes on it.
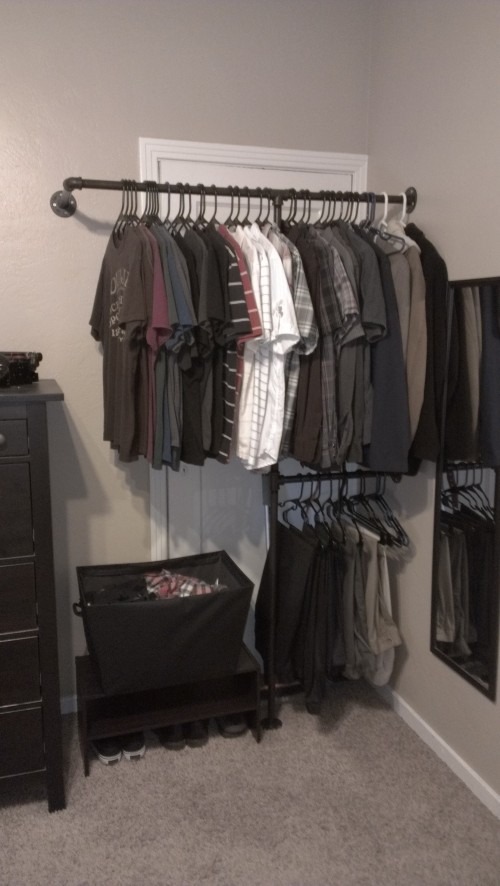
All finished? Not quite actually. I realized when I was designing this new closet that I could utilize the empty space to the bottom right to store not only my shoes but my laundry as well. This would have the ancillary effect of fixing up the section of my bedroom the currently held my laundry basket. Once the main construction was done, my girlfriend and I took a quick trip to Target, where I purchased a two-tiered shoe rack, a new laundry basket (since my old white one clashed with the new decor), and new black hangers. The result, if I do say so myself, is pretty fantastic.
I have several other projects planned for this room, but I think this one will probably end up being the most transformative as well as the most satisfying. Besides making my bedroom look considerably neater and more mature, I love that the solution was something that I designed and built. Moving forward to my next projects, I think some more of that DIY creativity may be necessary.
Speaking of which… next up: my bookshelves!

wow, that turned out amazing. how much did everything cost you? anyways, great job.
The entire project (which includes not just the pipes and paint, but also the shoe storage, laundry basket, and some new hangers) was probably around $125-150. The pipes were definitely the most expensive part. It was well worth it though. That “closet” lasted me two years, and would have served me longer if I hadn’t moved.